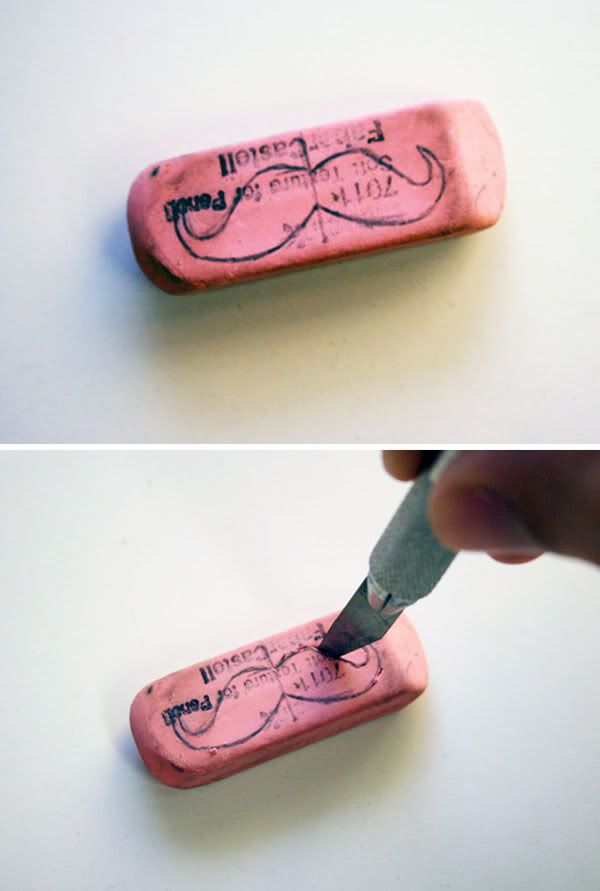
"I’m back today with a fun little project that is quick, easy, and practically free! All you’ll need is a pencil, an X-Acto knife, a stamp pad, and a pink eraser or two. If you’re like me and have a junk drawer full of stuff, you might be able to find most of those things floating around in there! If not, hit up a craft store or office supply store, and you’ll be good to go. Today I’ll be operating on two old, used, yucky erasers I found around the house. But if your erasers are in the same shape, not to worry – this project doesn’t discriminate against used goods. Start by drawing a simple picture on your eraser with pencil. If you mess up, the lead will easily rub off and you can try again. I drew a mustache on one eraser and lips on the other. Next, take your X-Acto knife and carefully trace around your image, cutting directly downward. You won’t need to get more than about 1/8 of an inch deep."

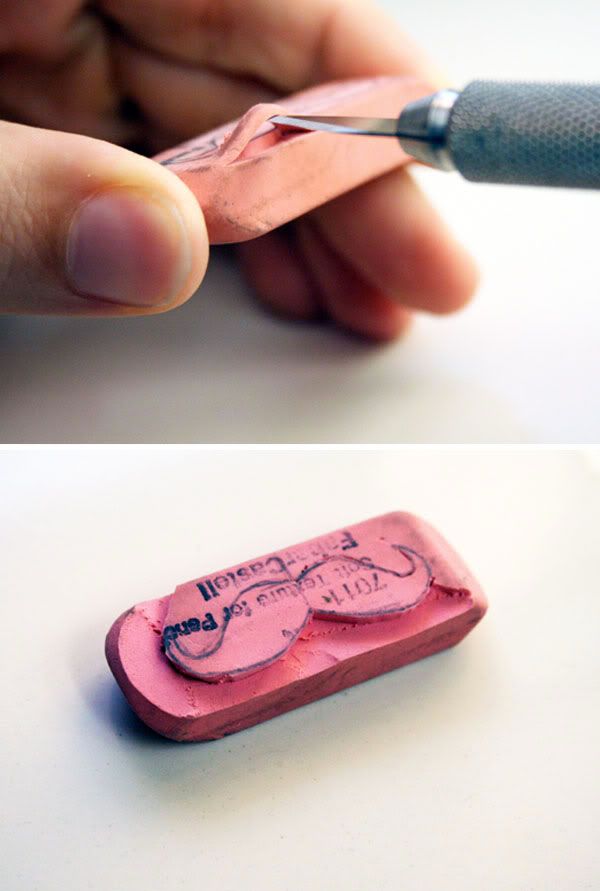
Then, cut in from the edges of the eraser, being careful to only cut up to where you traced the image with the knife. Work your way around in pieces, clearing away the parts that come free, until all of the excess is cut away.

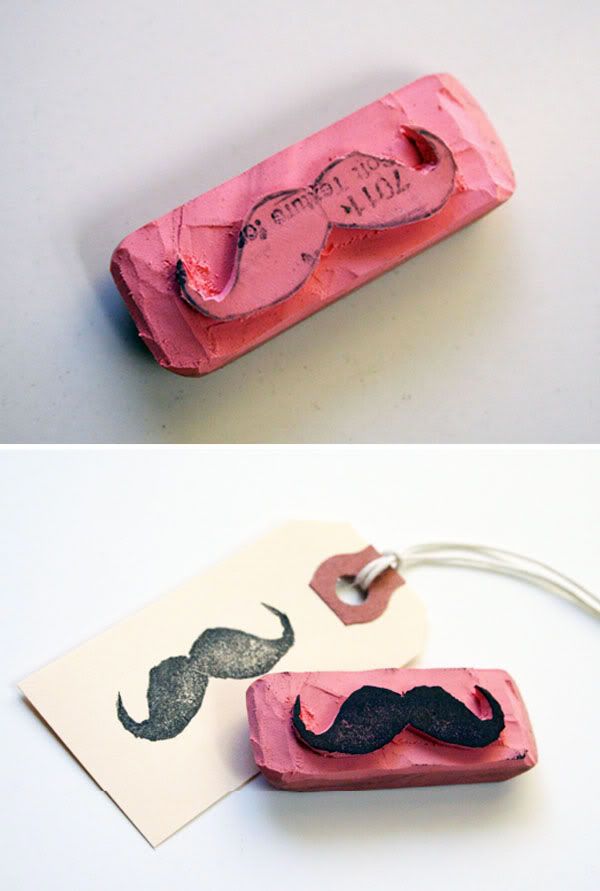
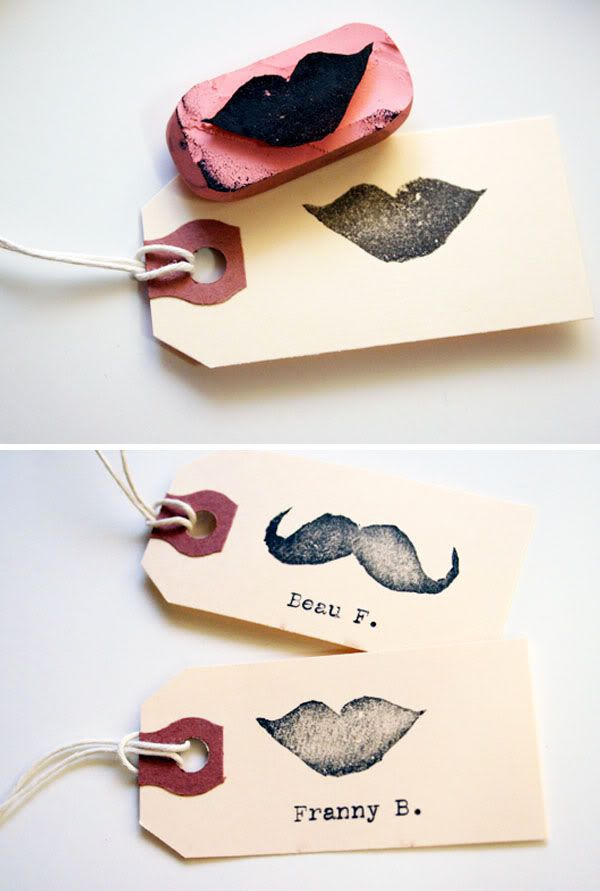
Ta-da! You made a rubber stamp! Now ink it up and stamp away. You could use these for a million things – handmade greeting cards, stamped wrapping paper, funky letterhead, and on and on. It would even be fun to carve a personalized stamp as a gift for a craft-lovin’ friend. Happy stamping! xoxo


No comments:
Post a Comment