DIY Friday: Rubber Stamps

I just love Chelsea’s tutorial from Lovely Indeed for making your own custom rubber stamps. This is genius…

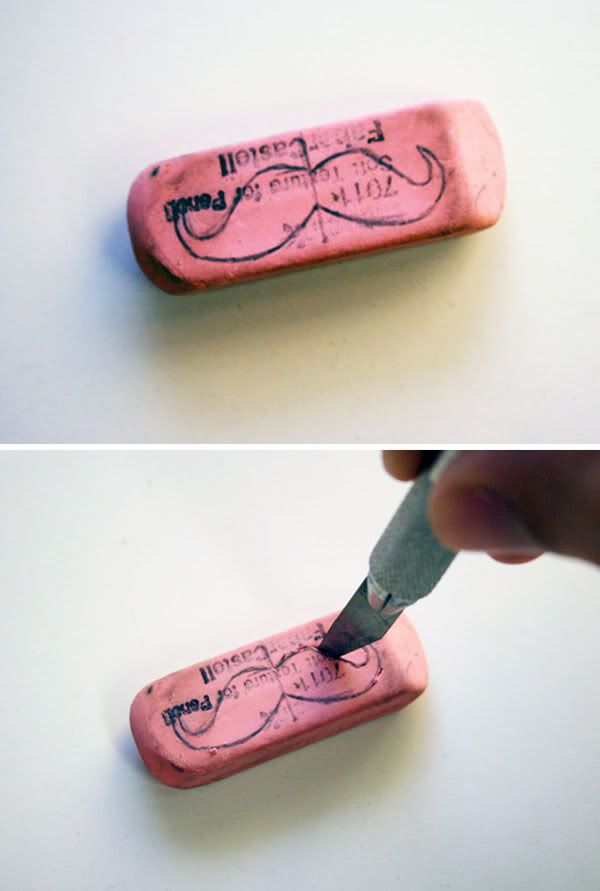
"I’m back today with a fun little project that is quick, easy, and practically free! All you’ll need is a pencil, an X-Acto knife, a stamp pad, and a pink eraser or two. If you’re like me and have a junk drawer full of stuff, you might be able to find most of those things floating around in there! If not, hit up a craft store or office supply store, and you’ll be good to go. Today I’ll be operating on two old, used, yucky erasers I found around the house. But if your erasers are in the same shape, not to worry – this project doesn’t discriminate against used goods. Start by drawing a simple picture on your eraser with pencil. If you mess up, the lead will easily rub off and you can try again. I drew a mustache on one eraser and lips on the other.
Next, take your X-Acto knife and carefully trace around your image, cutting directly downward. You won’t need to get more than about 1/8 of an inch deep."
Photobucket

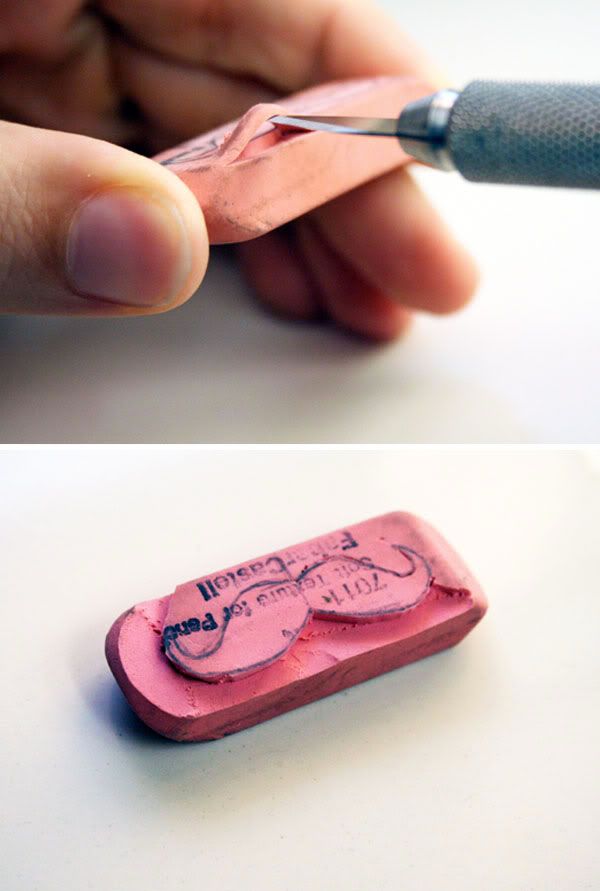
Then, cut in from the edges of the eraser, being careful to only cut up to where you traced the image with the knife. Work your way around in pieces, clearing away the parts that come free, until all of the excess is cut away.
Photobucket

Ta-da! You made a rubber stamp! Now ink it up and stamp away. You could use these for a million things – handmade greeting cards, stamped wrapping paper, funky letterhead, and on and on. It would even be fun to carve a personalized stamp as a gift for a craft-lovin’ friend. Happy stamping! xoxo
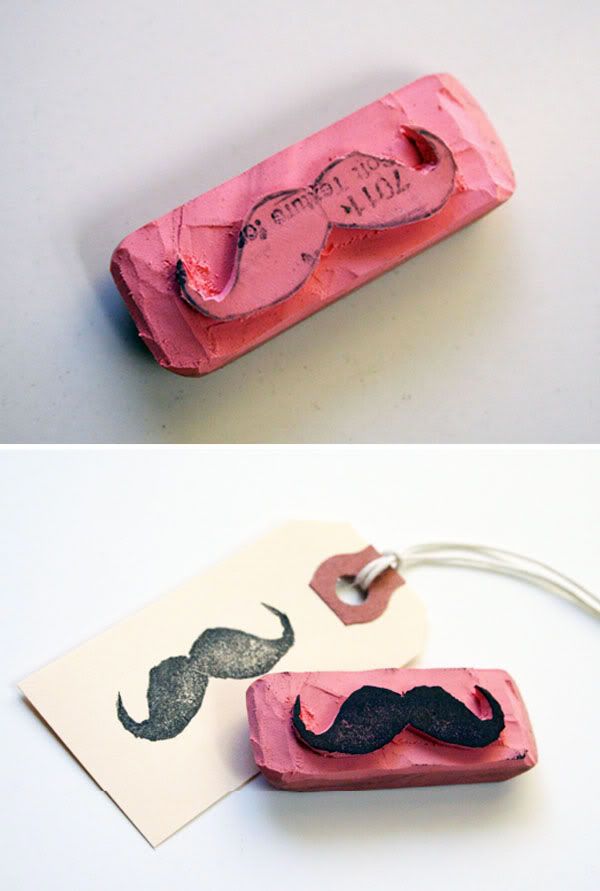
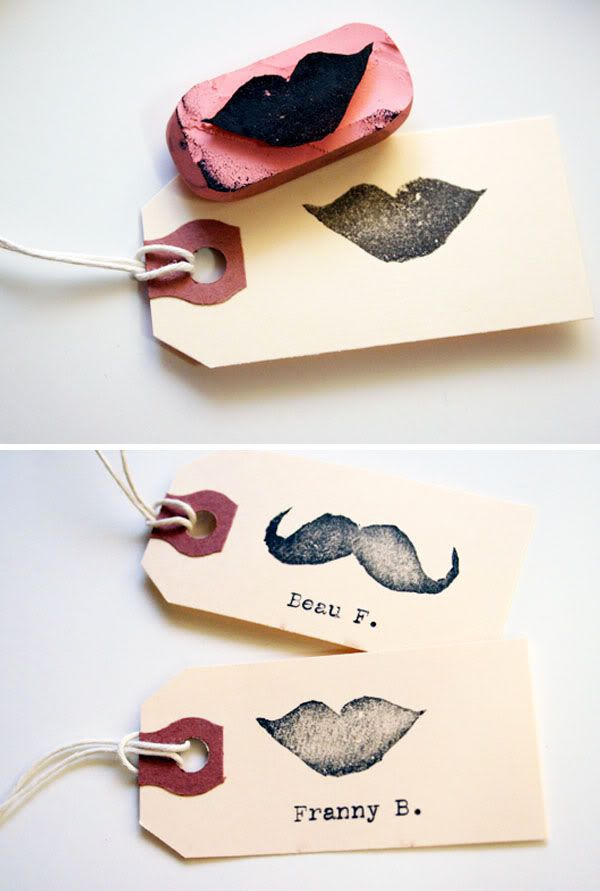
PhotobucketPhotobucket

Wedding Wednesday: Kelly and Tyler's Torrey Pines Lodge Wedding

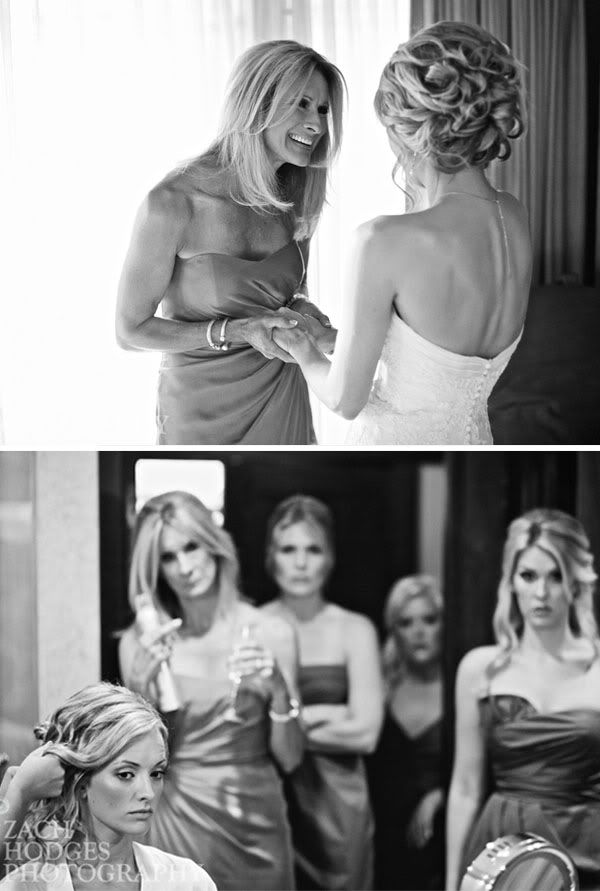
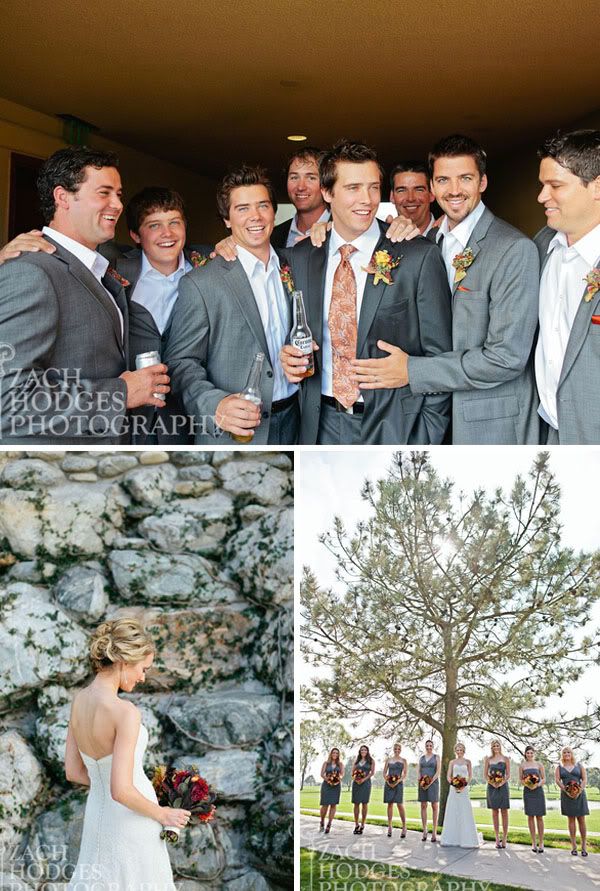
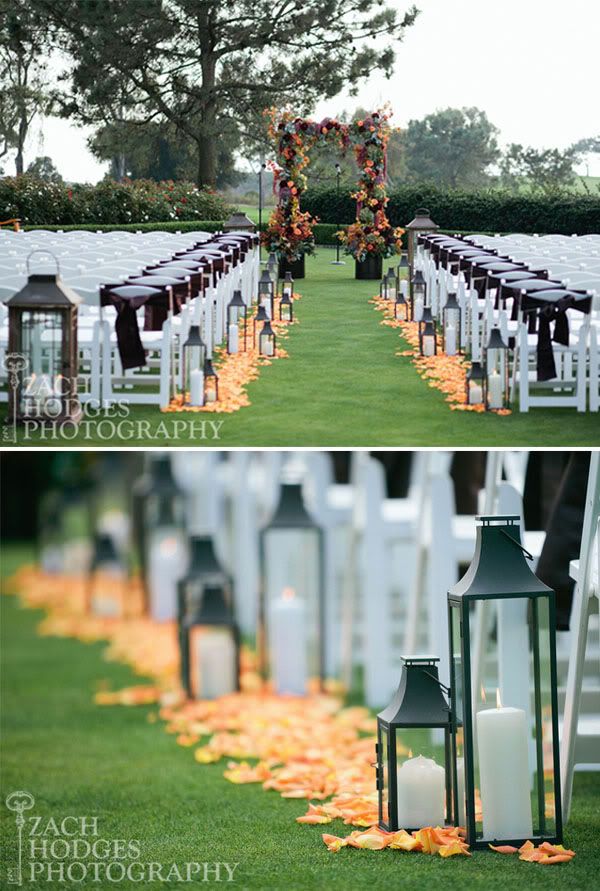
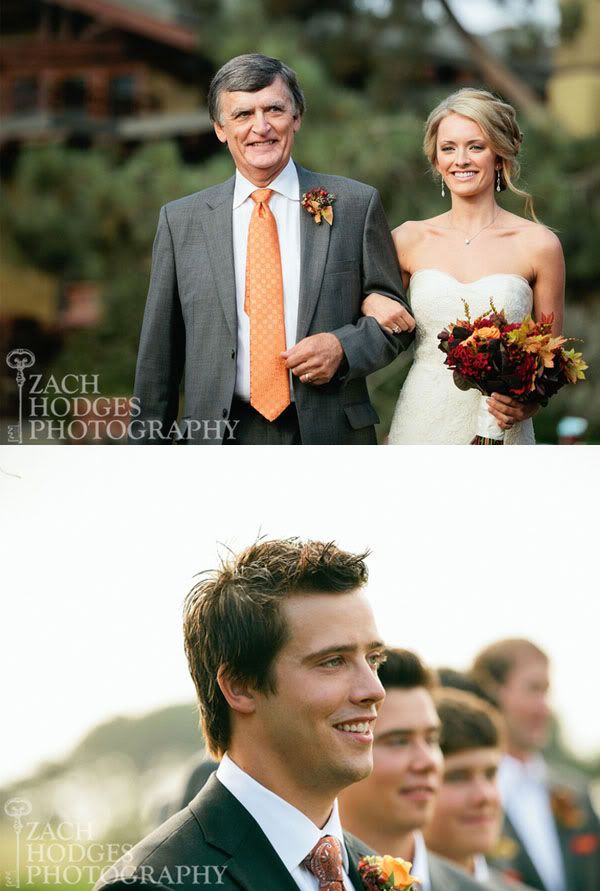
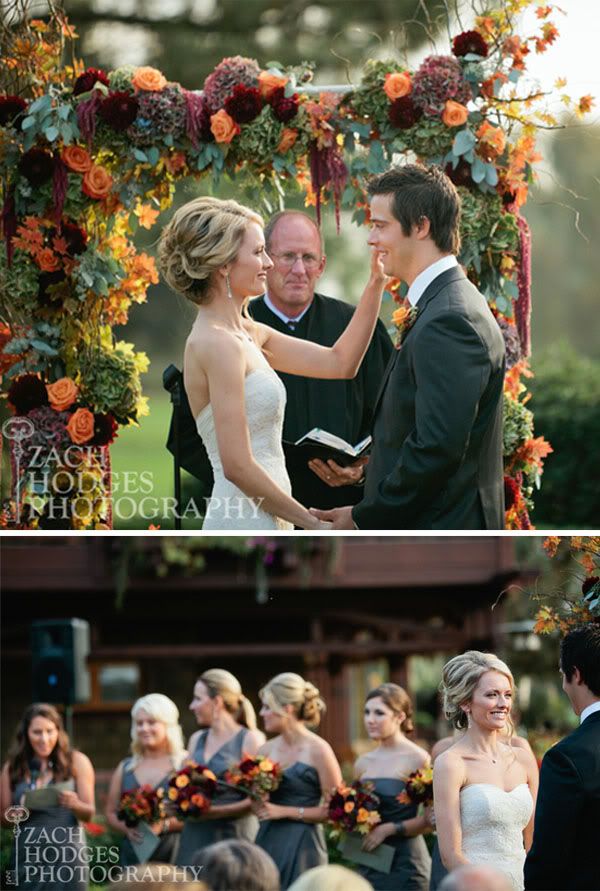
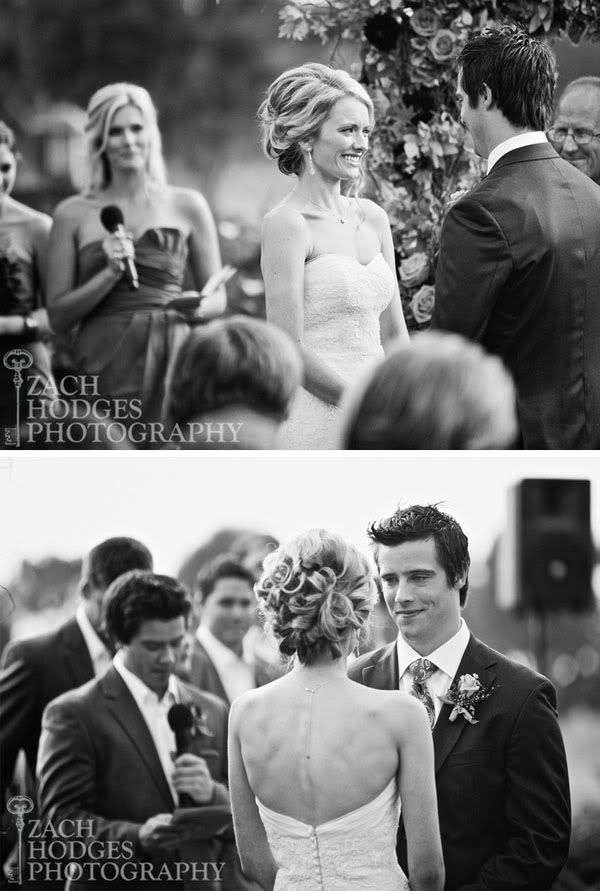
I can tell you right now, people were not even noticing the incredible views and scenery of the Torrey Pines Lodge because they were all memorized by Kelly and Tyler. I was 9 months pregnant (actually was due in 4 days), but had a burst of energy from the vibe of the day.

The ceremony was so sweet and special. Kelly and Tyler had their wedding party read outloud old love notes that they had written to each other. It was so unique and held so much meaning to Kelly and Nick. The crowd also loved it, as most of them had charm, naughtiness and just sweet love.
The rest of the night was a total success. The toasts were so amazing and the first dances had everyone crying. I am so thankful that baby Kenzie decided to stay in my tummy, because it was an honor to be a part of their day. Thank you to my amazing assistant Annika, who did a ton of the dirty work, so that I could rest my body.

PhotobucketPhotobucketPhotobucketPhotobucketPhotobucketPhotobucketPhotobucketPhotobucketPhotobucket

Venue: Lodge at Torrey Pines
Cake: Elizabethan
Ceremony and Reception Music: Still Listening Productions
Florist: Floral Palette
Photography: Zach Hodges
Videography: Nick Kova Photography
Rentals: Classic Party Rental
Photobooth: San Diego Photobooth

DIY Friday: Holiday Crackers

Easiest crackers ever!

Get a little crafty this Christmas with our guide to making your own crackers. They're quick, easy and very inexpensive – so you'll have more money left over for presents!

You will need
:
• Toilet-roll tubes, or thin postal tubes cut to size
• A4 paper (use old wrapping paper, or ask the kids to draw something and cut it to A4 size, 297mm x 210mm)
• Sticky tape
• Cracker snaps (you’ll find them on Amazon and other online stores)
• Scissors
• Thin card, at least 20cm long
• Decorative string or ribbon
• Small but exciting things to put inside the crackers, such as candy canes, nutmeg graters and cookie cutters
• Cooking tips or jokes

1. Place a toilet-roll tube on the long edge of your paper, in the center, and hold it in place with some sticky tape.

2. Thread a cracker snap through the toilet roll and sticky tape it down to one side of the paper.
3. Roll the tube across the paper, then secure with 3 bits of tape along the seam, in the center and ends.
4. Cut two 20cm x 5cm strips from the thin card. Curl each one into a circle and place one inside each end of the cracker, leaving roughly 2cm sticking out of the end. Hold the card in place with a little sticky tape.
5. At one end of the cracker, form the hand signal for “OK” around the gap between the toilet roll and the card. Gently squeeze and twist a little with your thumb and forefinger, while using your other hand to hold the card in shape. Keep squeezing until the cracker has a nicely defined neck to it.
6. Tie a piece of string or ribbon around the neck of the cracker. Cut off any straggly bits or make a bow.
7. Pop a Christmas hat, a cooking tip or joke and a little surprise in the open end of the cracker . Seal the open end as before. Ta-da! You have just made your own cracker!

To make a Christmas hat, take an A4 piece of paper, cut a jagged line down the middle with your scissors and then stick both ends to each other. Easy!

Wedding Wednesday: A White Christmas

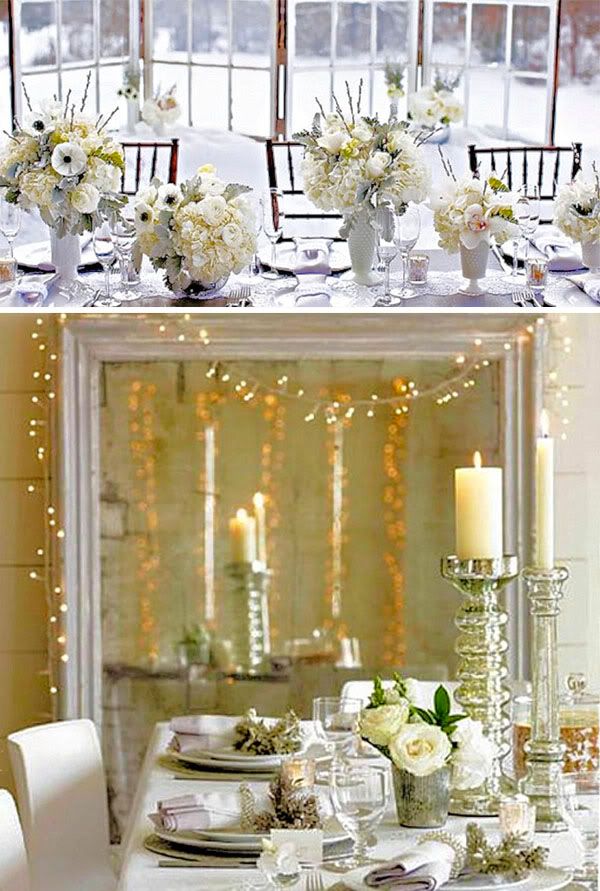
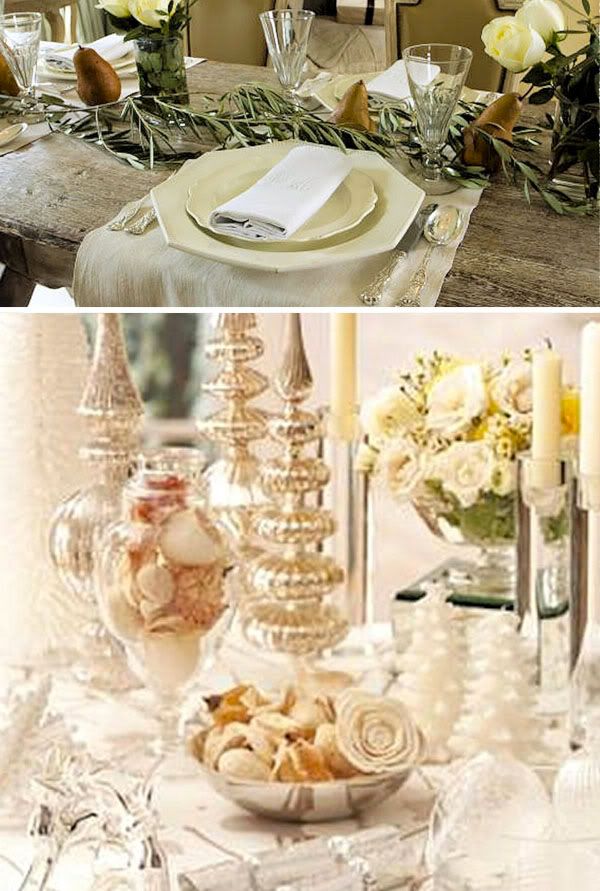
I love white when it come to Christmas decor. It is so fresh, elegant, clean and well... It feels like snow! That is a fun feeling when you are so far away from it and wish it was falling from the sky!

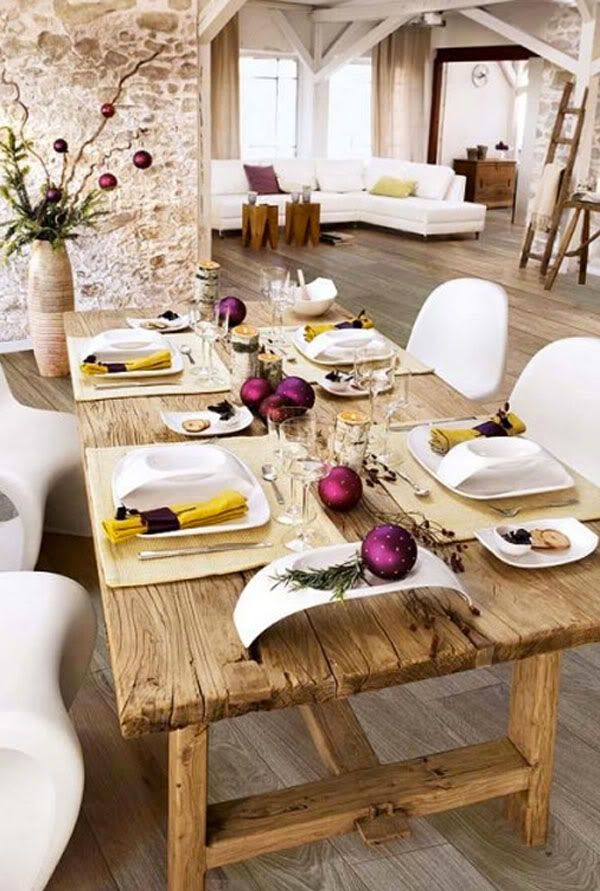
Take a look at some of the tablescapes below. I love the subtle pops of colors, variety of glassware's, and different textures!

I know of a few people having weddings this week and last. I think it is a magical time to tie and knot and cant wait to see how the warm ambiance of their events came out! For those of us who are just celebrating Christmas, get creative with your table top. Look around your house and pull things that you would not think would work. You will be surprised when you start arranging and moving things around what you can come up with!

PhotobucketPhotobucket

Finishing Touches Tuesday: Christmas Traditions

The other day I was reflecting back on all the Holiday Traditions that my family has done for years that I love so very much. Now that we have our own family we were talking about what traditions we wanted to keep and which ones we wanted to start! Such a fun brainstorming conversation.

So, I thought I would share with you my three favorites! As most of you know, my family and I are from South Africa. With us being so far from home it was only natural to hold on to some of the strong family traditions.

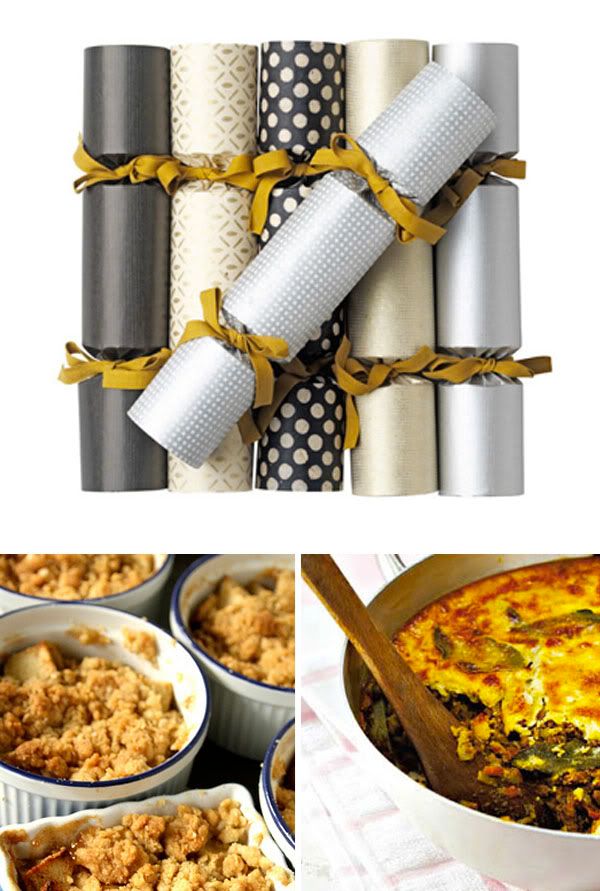
1. Christmas Crackers! If you have never seen one, they basically are a giant popper with a toy, joke and hat inside. We always have a blast opening them up, laughing at the silly jokes and looking super styled out in the paper hats. One year my cracker feel on the burning candle and within seconds we had a full on fire spreading down the table. So note to self- be a bit careful with these guys :) See Friday's DIY post for directions on how to make your own.

2. Bobotie: This South African original is similar to meatloaf, but so much better. A slightly sweet curry flavors ground beef with a milk and egg custard on top. It's delicious! Click here for the recipe!

3. Apple and Mixed Berry Pies!!! This year it is my duty and I am making an Ina Garten Recipe. See below:

The day would not be complete without some of the other traditions: Candle Light Christmas Eve Service, Irish Breakfast w/ Xmas Music Playing in the Background, Throwing the Football in the street w/ all my Brothers, Pre Dinner Run, A Good Meal with Lots of Laughter, Games, and a Hot Tub to Top off the Night! Oh I can't wait for Xmas....


PhotobucketPhotobucket

Wedding Wednesday: Jen and Jair's Wedding!

I am excited to share with you the "real deal" pics from the very talented Jill Thomas of Jen and Jair's wedding! As mentioned before, I LOVE this couple! They are so in love and truly are the sweetest people. I was honored to be a part of their big day.

In case you did not read before, they tied the knot is the sweetest way! They first choose the Darlington House as their venue which is always a great pick. Then they gathered in amazing people from all around the world. With Jair being from Brazil, many of his friends and family flew in for the big event. To follow they greeted guests with amazing Latin music, drinks and appetizers. The rest of the night was history... People danced the night away and toasted sweet "cheers" to the kind, SO in love and fun couple!

The decor was simple and just right for the look they were going for! We mixed brushed silver and gold (hard to see in this pics) and it came out so great. The runners were handmade. There is a great fabric store in San Diego where you can get affordable fabric, and then with the help of an aunt, cousin or grandma you can have the perfect runner for less.


PhotobucketPhotobucketPhotobucketPhotobucketPhotobucket

P.s. The Fabric store is Garcia's Fabric. The focus on re-upholstering but have great fabrics too! They also have AMAZING and CHEAP sales so ask about them while you are there.

Vendor Love: Wayne Foster Band

What a treat it was to have The Wayne Foster Band at the wedding this past weekend at Rancho Valencia. It had been a few years since I have worked with them and well I must say, I forgot how incredibly talented and full of energy they are! We had a 15 person band, with voices ranging in all directions. We had someone doing Frank Sinatra all the way to Katy Perry "Own the night like the 4th of July". We had a younger team of performers and they successfully had all ages on the dance floor the entire night!

It was a feat to get everyone off the dance floor and exiting for the night. Even with the bar closed and music off people were still not giving up the dream of being on that dance floor.

Thank you for an incredible night!


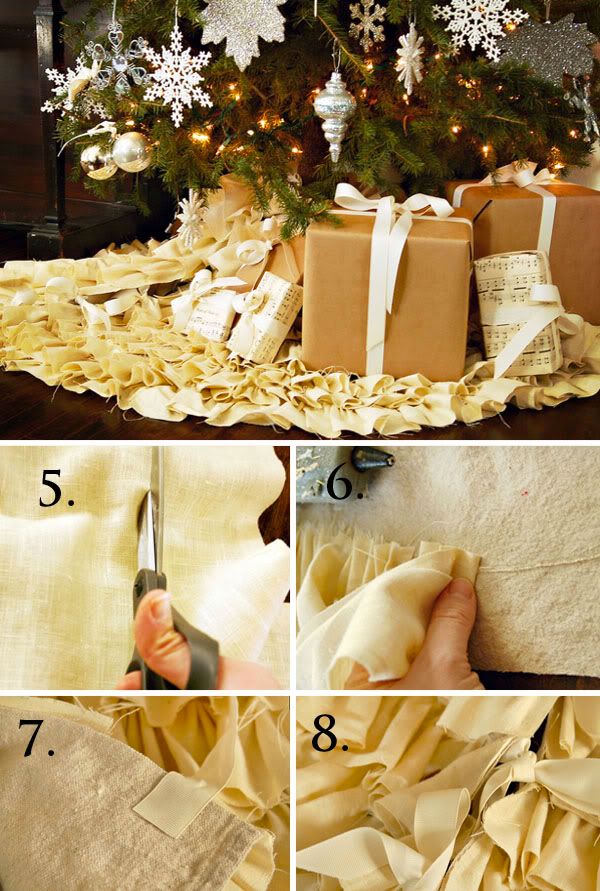
DIY: No "sew" Ruffled Tree Skirt

I just LOVE this DIY tree skirt! It is stunning and simply the perfect addition to my tree! I have a wedding to do this weekend (which I am so excited to share with you soon), so once that is past me I will be tackling this project!

Materials Needed:

  • 4-1/2' x 4-1/2' piece of canvas
  • measuring tape
  • 4 yards cream linen
  • sharp scissors
  • fray-blocking glue
  • 3 1/3 yards grosgrain ribbon
  • hot glue gun and hot glue sticks

Measure and Cut Canvas

Using a tape measure, mark and cut a square of canvas that is approximately 4-1/2' x 4-1/2' (Image 1). Fold the square into quarters, then over itself to form a triangle with the folded center at point. Cut base in a quarter circle (Image 2). Cut a small quarter circle out of the point (Image 3). Open the skirt until it's folded in half and cut along the radius on one side of the center hole only (Image 4). This will provide a hole for the tree trunk and a slit in the fabric so the skirt can be placed under the tree. Apply no-fray glue along all raw edges and allow to dry. Tip: A canvas painter's drop cloth is an inexpensive material perfect for this project.

Measure and Cut Linen

Using sharp scissors, cut linen fabric lengthwise into 2-inch-wide strips

Create Ruffles

Preheat hot glue gun. Apply a line of hot glue approximately 1 1/2 inches from outside edge of skirt. Create ruffles by pinching linen with fingers and pushing gathers down onto hot glue (Image 6). Work in small sections, no more than about 12 inches at a time. Continue this process around the entire skirt edge (Image 7). Start the next row approximately 1 1/2 inches above the previous row. Continue adding rows until entire canvas base is covered.

Attach Ties

Cut 10 pieces of grosgrain ribbon into approximately 12-inch lengths. Use hot glue to attach ribbon to underside of tree skirt along slit created in canvas base (Image 1). Evenly space five on one side of slit and five directly opposite. Place skirt under tree and tie ribbons together in bows (Image 8). Note: Although this tree skirt is not machine washable, keep it looking its best by spot-cleaning stains and shaking off needles and loose debris.


PhotobucketPhotobucket

Thouroughly Inspired Thursday: It's no longer near... Christmas is Here!

My favorite time of year is here! This year is extra special for us for 2 reasons:

With our new baby girl, we are truly a family now, celebrating our 1st Christmas together. The second reason is this will only be our 2nd Christmas as a couple where we have gotten a tree and decorated. Last year we were in Thailand and the year prior we have just moved up to Tahoe for the winter season. Those are two "hard" December months to try and top- but I think with our lil angel, family and friends this year will be one to remember!

This is typical me...I was so excited to get out the decor and when I did I hated it. I wish I had the cash to change up the house every year. :) But I know I am just being picky.

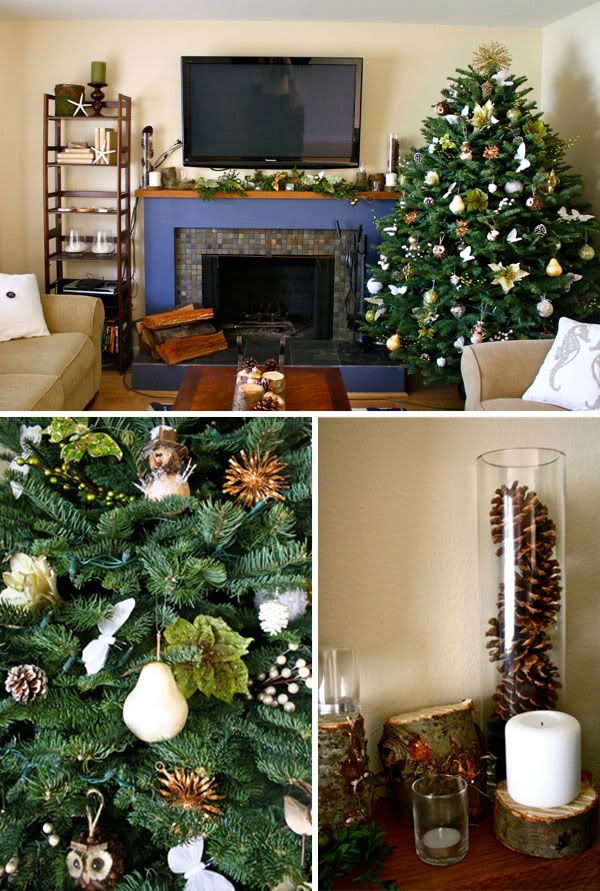
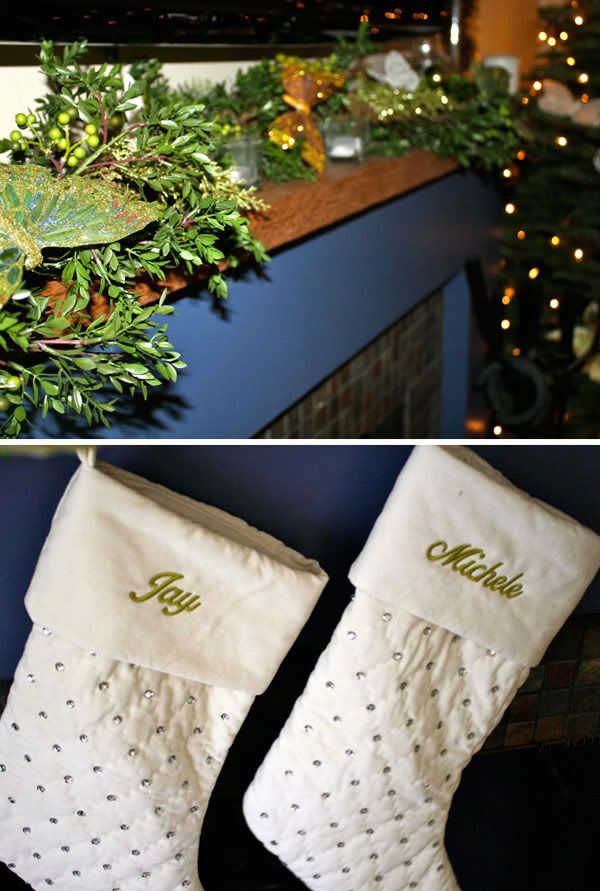
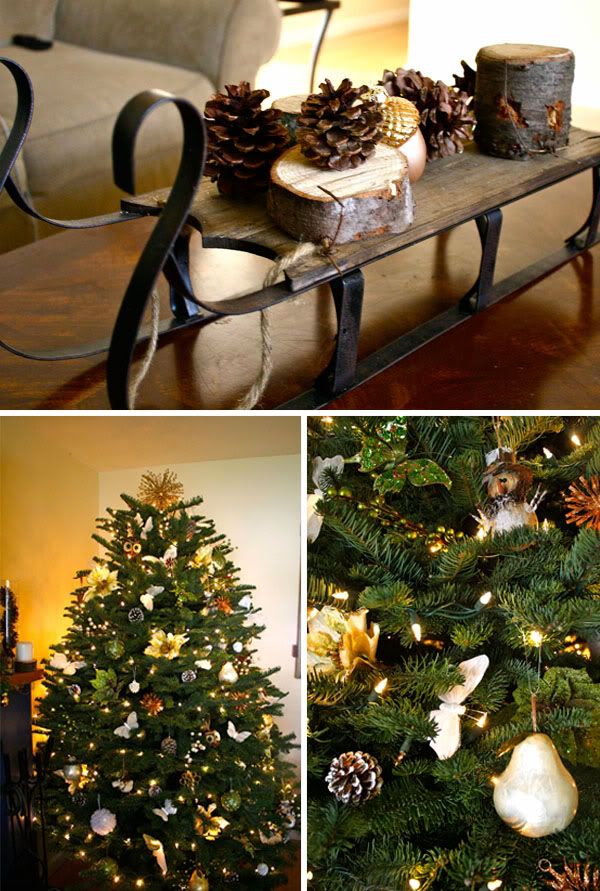
The tree and surrounding pieces are "metallic" (all shades), white, lime green with wood accents. I like the idea of mixing fancy with a woodsy feel. My husband loves it too, which means I am airing on the right side of the balance. Some of the things you will find on the tree are: gold-ish pears, wooden owls, white butterflies and snow kissed pine cones.

When we picked up our tree, I saw extra tree stumps. They were free to take, so I grabbed a few and used them for an arrangement. They are all different sixes and shapes and will look so great down the center of the dinner tables, with candles and flowers mixed in!

P.S. IT IS SO HARD TO TAKE PICS OF A TREE LITE UP- SORRY FOR THE TERRIBLE PICS.
P.S.S ALL I NEED IS A STOCKING FOR MISS MACKENZIE!
P.S.S.S MAKE SURE TO CHECK BACK TOMORROW TO SEE THE MOST AMAZING DIY TREE SKIRT


PhotobucketPhotobucketPhotobucket

Wedding Wednesday: A Sweet Affair at the Darlington House

Jen and Jair tied the knot is the sweetest way! They first choose the Darlington House as their venue which is always a great pick. Then they gathered in amazing people from all around the world. With Jair being from Brazil, many of his friends and family flew in for the big event. To follow they greeted guests with amazing latin music, drinks and appetizers. The rest of the night was history... People danced the night away and toasted sweet "cheers" to the kind, SO in love and fun couple!

The decor was simple and just right for the look they were going for! We mixed brushed silver and gold (hard to see in this pics) and it came out so great. The runners were handmade. There is a great fabric store in San Diego where you can get affordable fabric, and then with the help of an aunt, cousin or grandma you can have the perfect runner for less.

I am honored to have been a part of the day! The wedding was 3 weeks after lil MacKenzie was born, so I was a bit nervous about my energy level but after seeing how the day was coming together and oohing over Jen in her dress, I got a serious boost of energy!

Sorry for the low quality pics and video- These were all taken on my iphone!

Photobucket

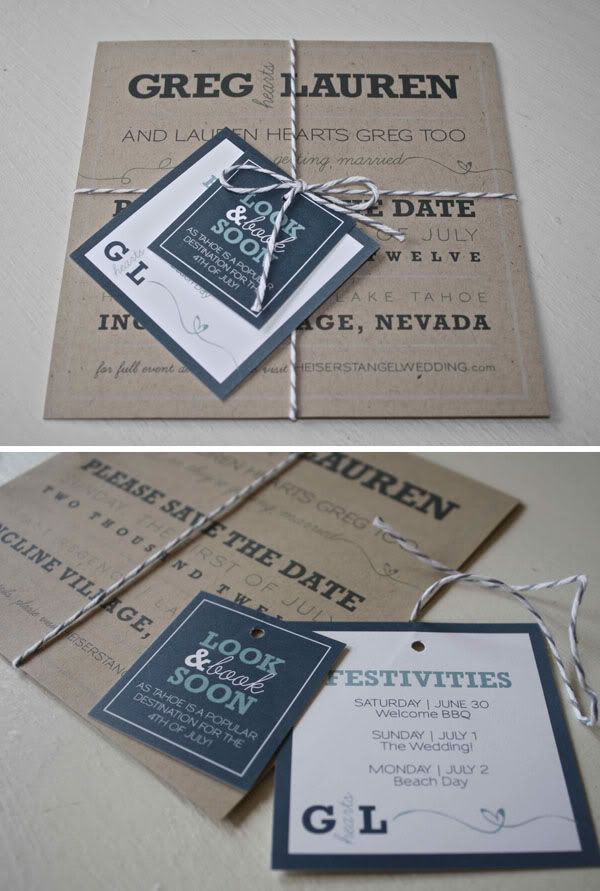
Finishing Touches Tuesday: A "Packaged" Save the Date

My eyes lit up when I received one of my brides Save the Dates in the mail! I absolutely love how they came out. I felt like I was getting a small present, with the way it was tied together. The always talented Meg from Worboys design has again out done herself. Lauren and Greg are getting married in Incline Village, Tahoe this coming July. Lauren wanted the Save the Date to be very "them", which is exactly what Meg put together. There are cute personalized touches that are significant to them. For example the block font, Lauren "Hearts" Greg, and the recycled paper. Don't you all wish you could go to this wedding?! It is going to be a fun one...

You can check out more of Meg's work here at Worboys Design.

Photobucket

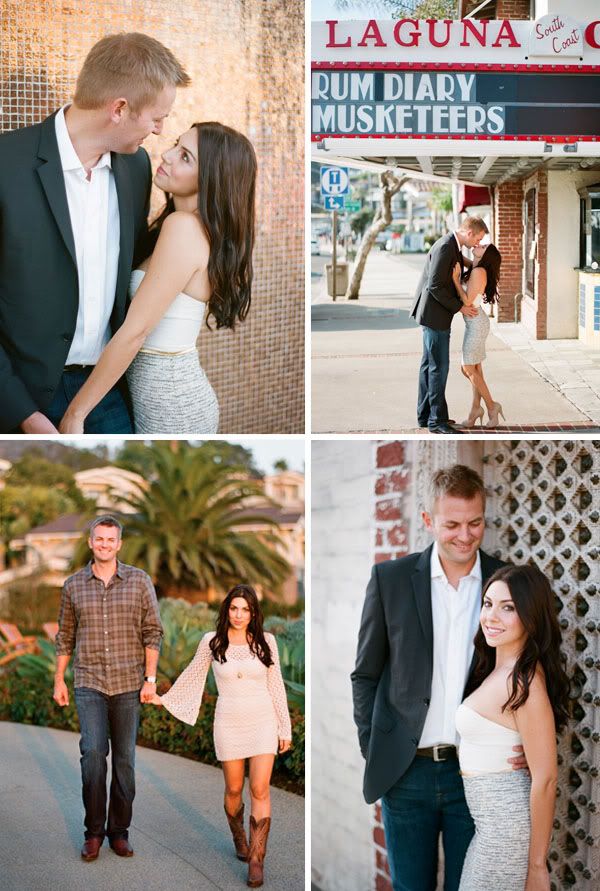
Vendor Love: Lane Dittoe Photography

My gorgeous bride, Jessica and her hunky husband-to-be, Chris just sent me their engagement pictures! I love them and also love the work from Lane Dittoe, so I had to share. Jessica and Chris meet a few years back through Match.com. Yes it does work, and they are proud to tell people of that! Jessica was romanced by Chris's Texas charm and witty personality. The chemistry and personality was an instant match and so the rest became history.

I am having SO much fun working with this couple. They are due to get married at the Estancia Resort and Spa this coming August. The wedding is going to be stunning! Just looking at Jessica's hot outfits in these shoots- you know her dress is going to be something to talk about!

Stay tuned for more on Jessica and Chris...

Photobucket

Wedding Wednesday: Wish Upon a Wedding

I am back! I have missed you all so much and am very excited to have this inspiration story as my first post.

I recently came across "Wish Upon a Wedding" and immediately feel in love with what they are doing. They have brought together a team of vendors that are willing to donate their services for free, for a bride and groom who are facing terminal illness or a life altering circumstance. This is such a special thing as they are granting their biggest wish, to marry the love of their life. All the stories are so inspiring, full of life and best of all love.

They remind me of just how important the heart of a wedding really is. The core, at it’s very purest form, is all about love. And love is the very first thing I saw when I opened this beautiful affair.

I want to share the story of Jon and Alyssa...


Photobucket

Not Goodbye but See you Later!

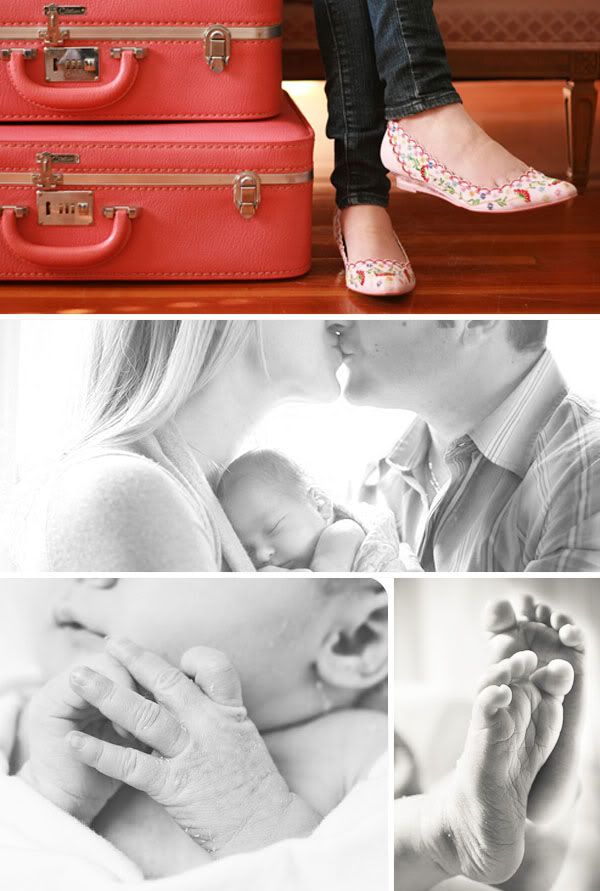
It is bitter sweet to sign off from blogging for a little bit. I will miss you all. The time has come to go become a momma. I am so excited to spend some quality time with Jay and our new lil one. I really can't wait to meet her and welcome her into this crazy fun world we all live in. We are so thrilled and blessed to become parents, and feel so honored to have this special time ahead of us. She is officially 5 days late now... and trust me we are counting. Our bags are packed and we are ready to go...

Thank you for always checking in and reading. Don't you worry I will be back and better then ever before you know it. Cheers!

Photobucket

DIY Friday: Custom Baskets

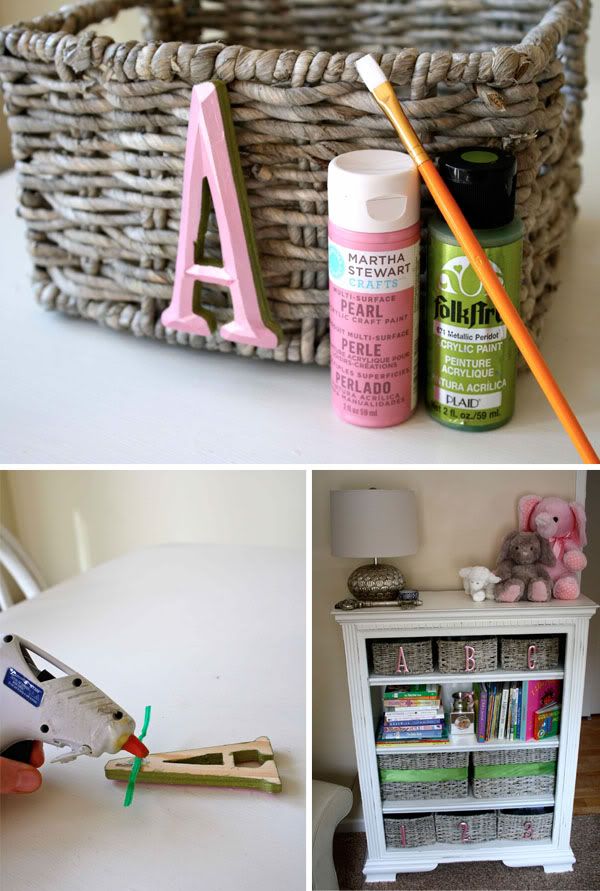
I did a last minute project to the babies bookshelf. I was cruising around Micheal's and saw these cute alphabetic and numeric wood figures. It spurred on the idea. I had wanted to doll up the baskets but did not know how, so I was thrilled with the outcome.

Directions:
1. I got two different color paints- green on the sides and pink on the top
2. Paint and let dry

3. Go to the produce section at the grocery store and grab a few bags ties :)

4. Then hot glue gun the tie on the back on the number or letter

5. String the ties through the cracks of the basket and then secure on the backside!


All set and ready to go! I also got a gorgeous green ribbon to go around the 2 bigger center baskets. I plan to get larger letters in her initials... (either E.W. or M.W.) and secure to the ribbon!

Photobucket

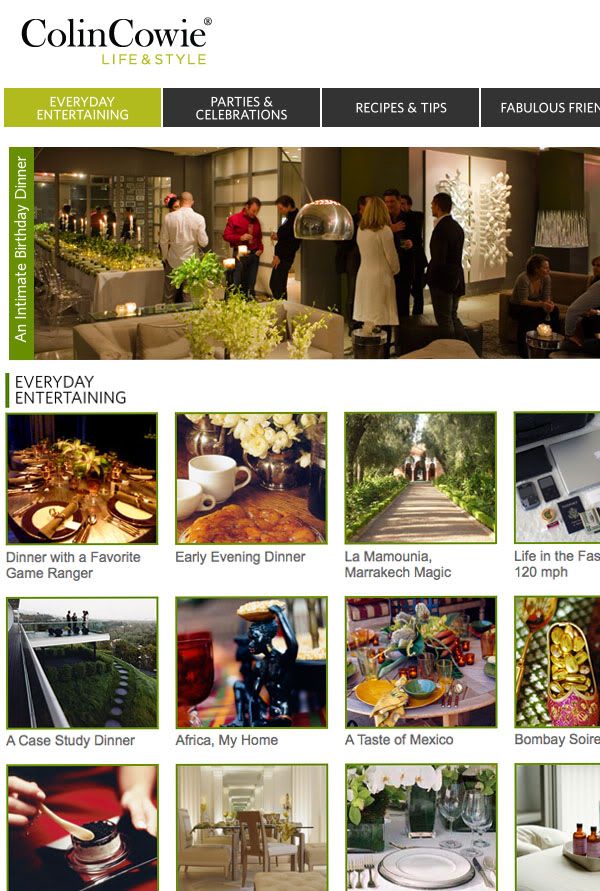
Wedding Wednesday: Colin Cowie's New Site...is Coming!

So, Colin Cowie is just about to launch his "highly" talked about new site. The site was exposed to over 1,425,240 viewers in three days. Weird, its almost the same kind of numbers I get on my site. I almost feel like I should reach out to him and talk about a partnership!? :)

My old boss is dear friends with Colin, and I have had the pleasure of meeting him. He really is a talented creative genius. He never stops to impress, so I am sure this new site will be a hit. They are launching October 16th. Make a note to take a peek at the anticipated site...

Photobucket

Finishing Touches Tuesday: Wine and Cheese Theme

I did a wedding this last weekend at the Torrey Pines Lodge. Yes, you heard me correctly I did a wedding 5 days away from my due date! :) It was all because I have the best assistant ever. Annika did such an amazing job helping out and pretty much ran the whole day. It was a perfect wedding and really such a stunning night!

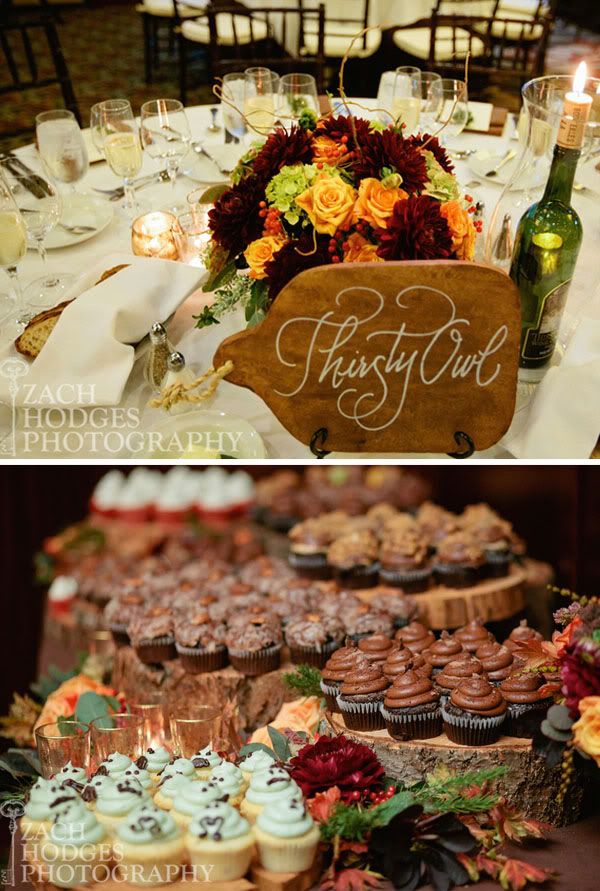
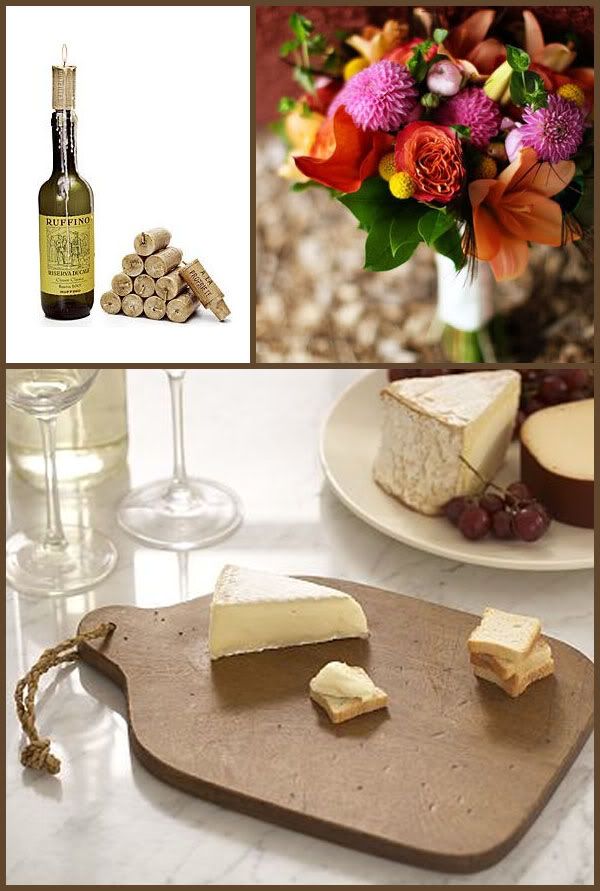
I wanted to talk about one thing that they did on the table that I thought was so fun. They got the seen below Pottery Barn Vintage Cheese Boards. They then hired a calligraphy artist to write so beautifully in silver pen the names of all the wineries they have been to as a couple. Each table was a different winery. Then to match they had a wine bottle from that winery (which was a tradition for them) to pair along side the cheese board. They then got the dripping wine cork candles, which gave it such a romantic feel. I loved the play on cheese and wine. Not only did it look amazing but it was significant to them and not "cheesy" in the least! Sorry I had to! :)

Photobucket

Vendor Love: Studio Castillero- Maternity

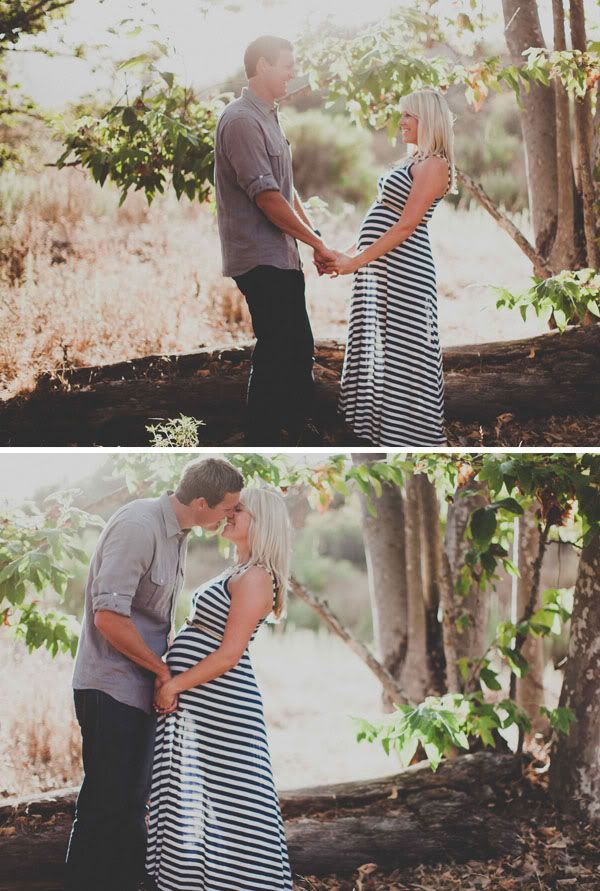
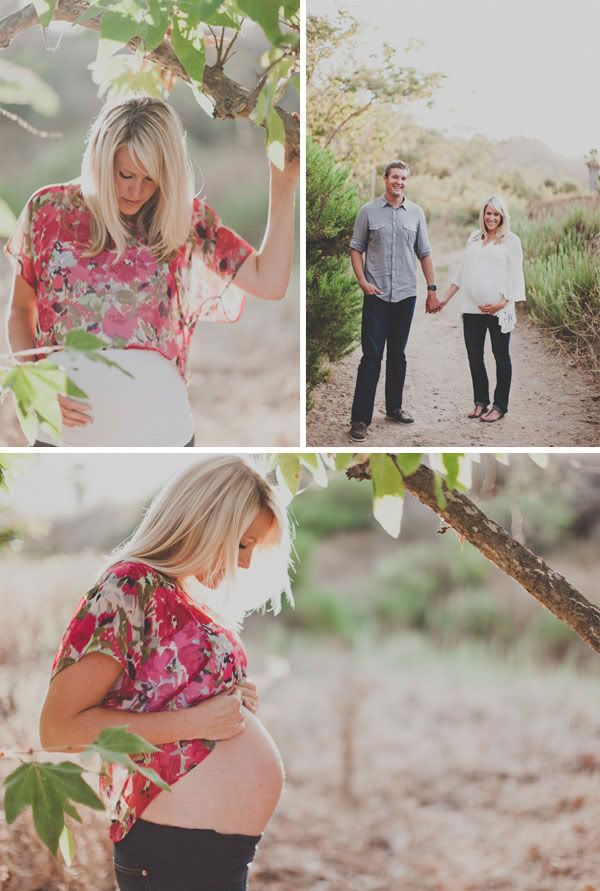
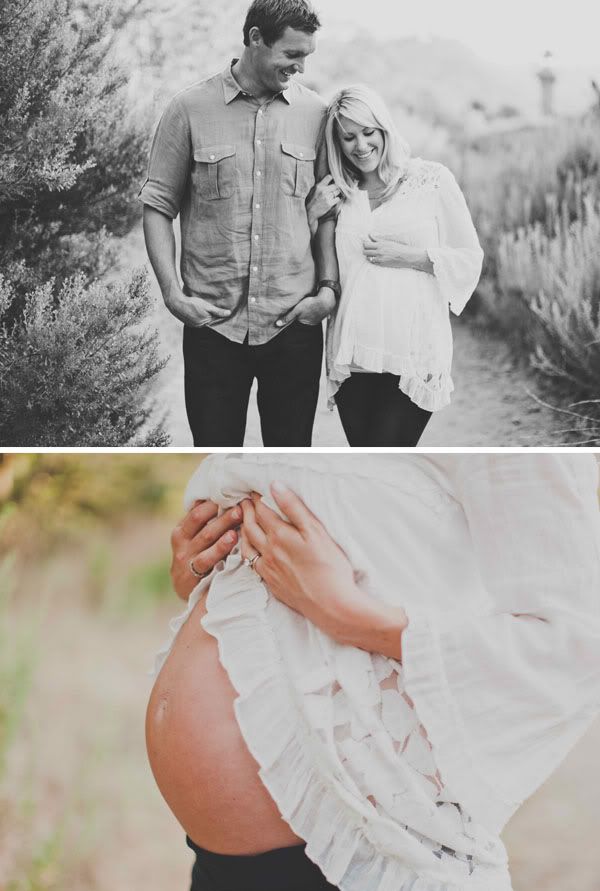
Thanks to Studio Castillero, I now have pics of me being pregnant! I barely took any pictures during this whole pregnancy. I was not even going to do the shoot but I figured I would regret it. After seeing the pictures they took, I am even more confident that I made the right decision. I am so glad to have these incredible shots of Jay and I. I cant wait till she grows up and I can show her these pics of her Momma carrying her! So cool!

This should be incentive to book Studio Castillero because they don't usually do Maternity shots. They only take maternity sessions for past brides that they have worked with. It is not their specialty but they just cant resist carrying on the story of their past brides.

PhotobucketPhotobucketPhotobucketPhotobucket

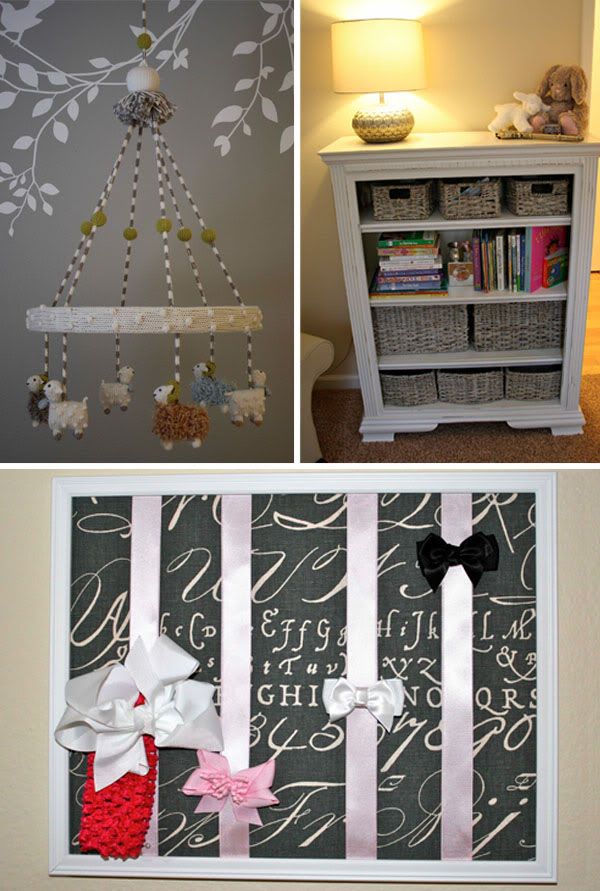
DIY Friday: Bow Board

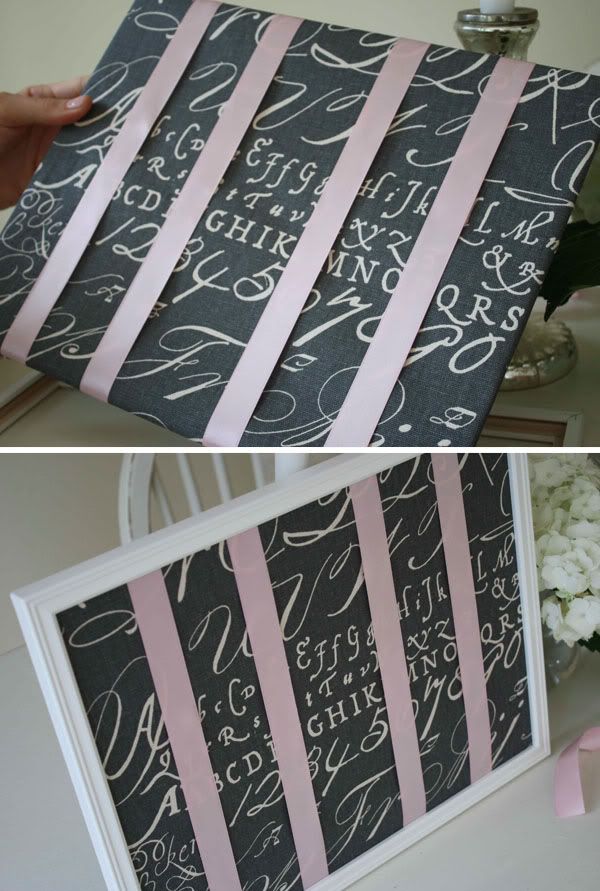
So, as promised I want to show you how SIMPLE the bow board is to make!

Directions:

1. Get a frame of your choice (I got this one from Target)
2. Get a piece of fabric that will cover the appropriate space
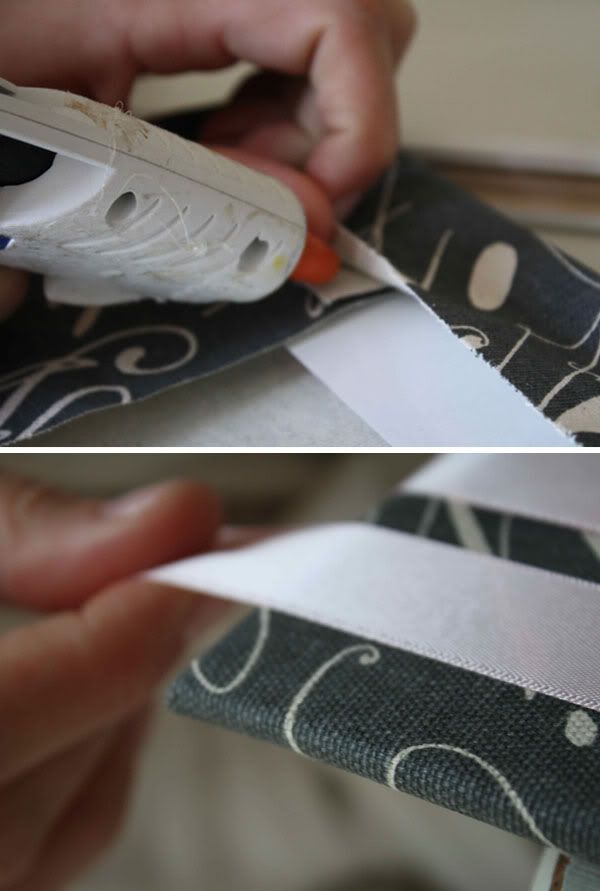
3. Wrap the fabric around the "glass" of the frame and hot glue on the back side. Make sure to fold it flat so you don't create bulk in the back
4. Cut out long strips of ribbon
5. Place them where you want and fold behind the back of the fabric
6. Hot glue the fabric strips to the back
7. Place the board in the body of the frame
8. Hang and Enjoy!

PhotobucketPhotobucketPhotobucket

Thouroughly Inspired Thursday: Painted Glass

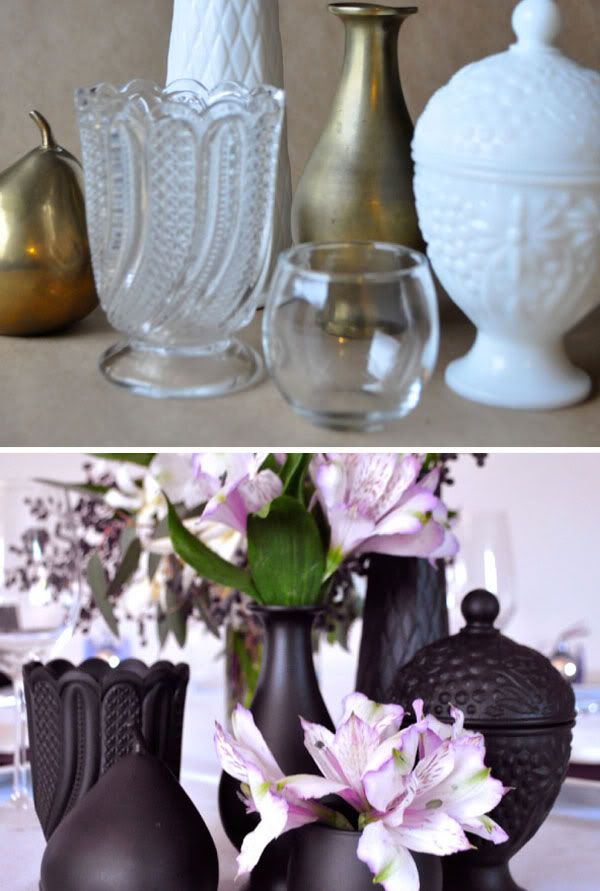
I just know this will find it’s way into so many of your weddings. It was crafted by Kathleen at Twig & Thistle and is about as practical as it is completely gorgeous. A perfect fit for any wedding…or any holiday table! Best part, once the wedding or event is over, you have a ton of beautiful vases to give to your guests or keep for your home!

Materials Needed:

Empty bottles and vases is varying shapes and sizes.
Spray Paint in desired colors (They used a flat black but it can be any gloss or color)
Flowers

Instructions:

1. Clean and dry bottles and vases thoroughly.
2. In a well ventilated area, spray paint items with several light coats of paint to cover entire piece. Allow each coat to dry completely before spraying the next.
3. Arrange vases and bottles and fill with flowers.

Photobucket

Finishing Touches Tuesday: Baby Woodcock's New Pad

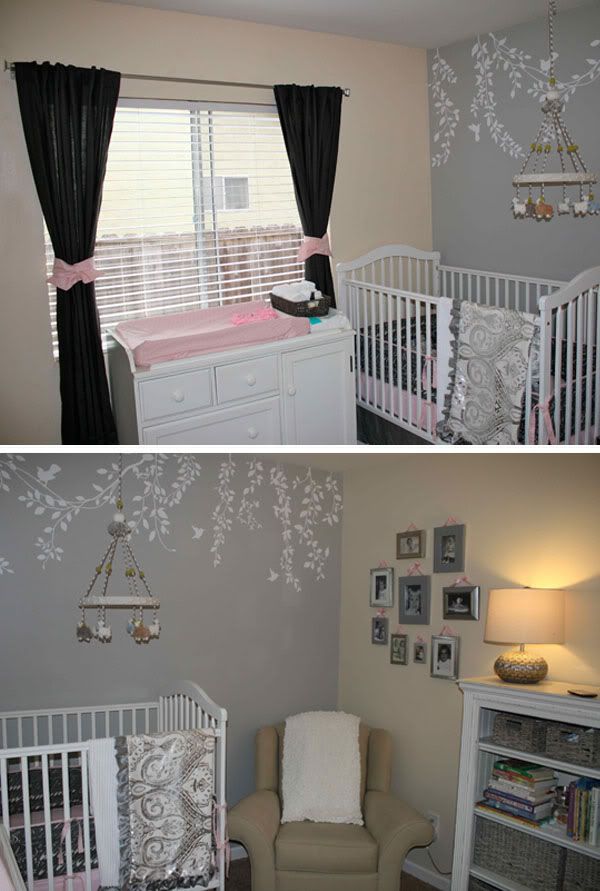
I am so excited to share with you the almost complete baby's room. It is still a work in progress which is the fun part but I feel like if I don't blog about it now, I might miss my chance. This little one could come any day and I am sure I will be taking a small blogging break after her arrival.

We both love the room and often just go and sit in it, as it's so peaceful and exciting to imagine it with a little girl in there. My mother in law is the talented hand behind all the bedding. She hand made ALL the bedding. What an amazing gift! We spent days looking for the perfect fabric and then I am sure she spent more then days sowing it all together! :) I simply love how it came out.

I also love the "women in her life wall". It came out great and is so fun to see everyone as a lil one themselves.

For all the soon to be Mom's out there- it does not have to cost a fortune to do up a room. I really tried to do this on a budget. The crib was a hand me down from Jay's sister, the changing table was a Pottery Barn table that I got on Craigslist, the rocker was also a Craigslist buy (is a top notch brand from a local boutique store) and the bookshelf was one we already had, I just repainted it.

Take a peek. I hope she likes it....
(Please ignore my terrible pics, I just could not capture it the way it looks in real life)
Photobucket

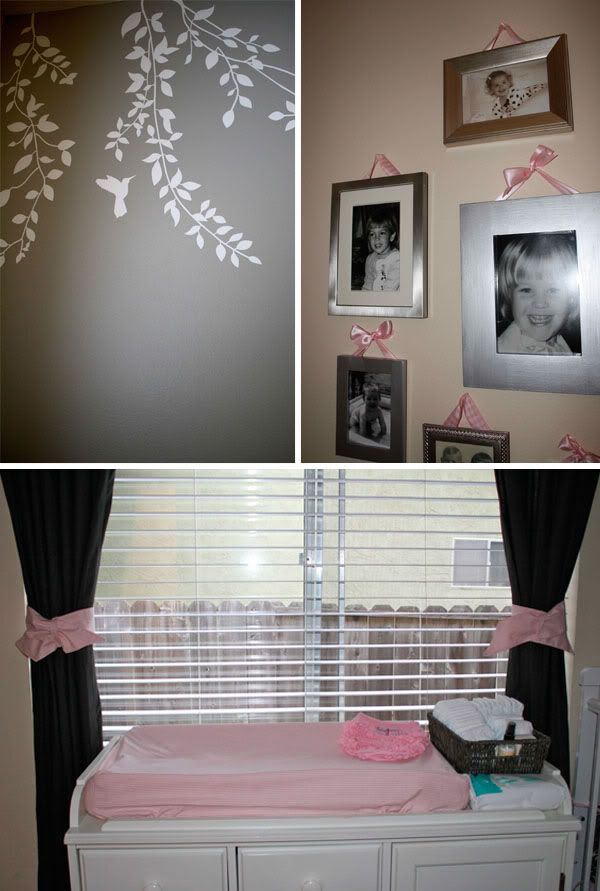
The dark gray linen curtains with the pink and white stripe fabric bow, the alphabetic and numeric bumper pad, the light gray linen crib skirt, the silver and white "fancy" blanket. It is all so perfect and just what I had envisioned.
Photobucket

The leaves and branches decal I bought on Etsy! It took hours to do but is so worth it. I also LOVE the mobile Jay bought her. It is so simple and sweet. My whole life my Mum called me her "little lamb" so it is pretty perfect that these are little lambs. The bow board was a DIY and was so easy and simple. I will blog about it on Friday.
Photobucket

I got these baskets from Home Goods. I was thrilled when I saw them because they fit the silver/gray theme so well. The women in her life wall, is a mix match of silver frames and pink ribbons.
PhotobucketPhotobucket

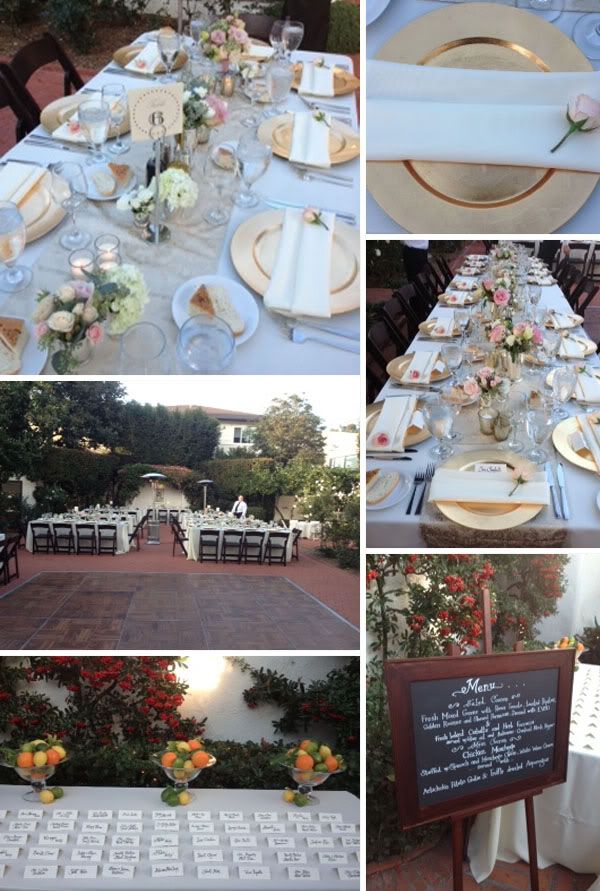
Vendor Love: Coast Catering

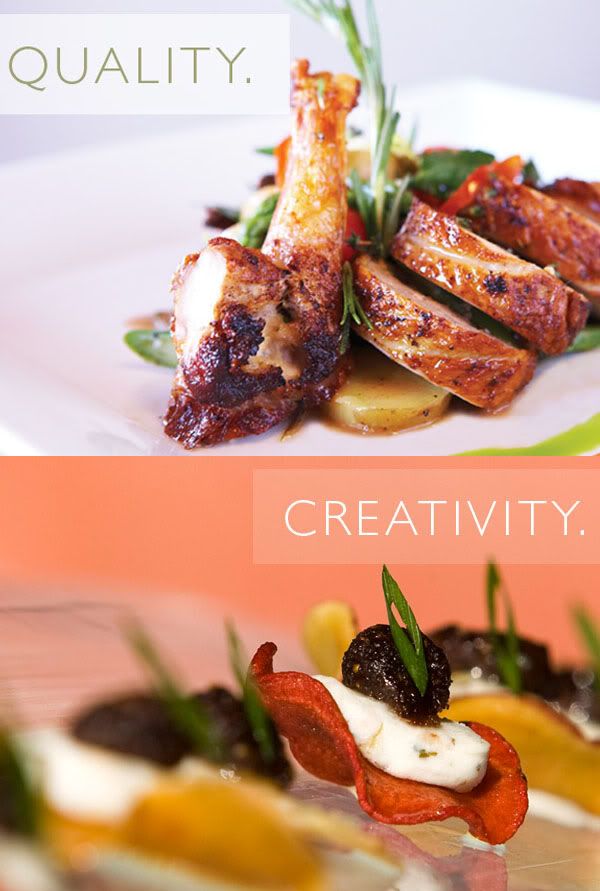
If you are looking to "WOW" your guests with amazing wedding food then Coast is a great way to go. I have been so impressed with the customer service, quality of the food and artist presentation. Barry, the head chef personally puts so much effort into each and every client. If you go to a tasting at Coast you will walk away feeling like a famous person and well, really full!

Take a peek at their work and menu's here.

Photobucket

Wedding Wednesday: Will you be my Bridesmaid?

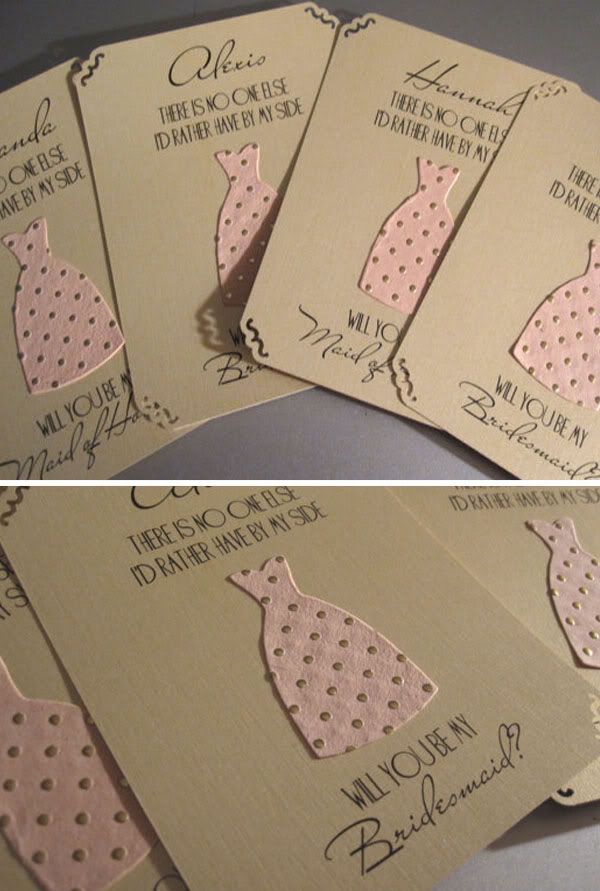
One of my brides recently asked all of her closest gals to be bridesmaids with this sweet card. It is so simple but yet such a sweet statement. It shows effort and is sure to make every girl feel special.

You can find them on Etsy!

There is not just this one style, so take a look at the other vendors as well. My wedding advice for today is take the time to ask your gals in a sweet and creative way!

Photobucket
Related Posts with Thumbnails